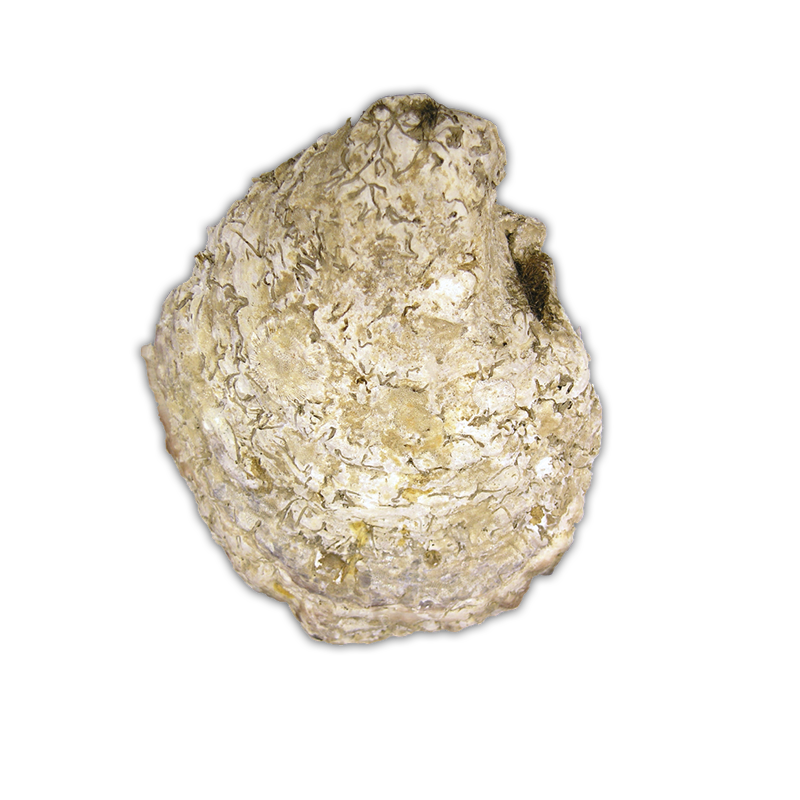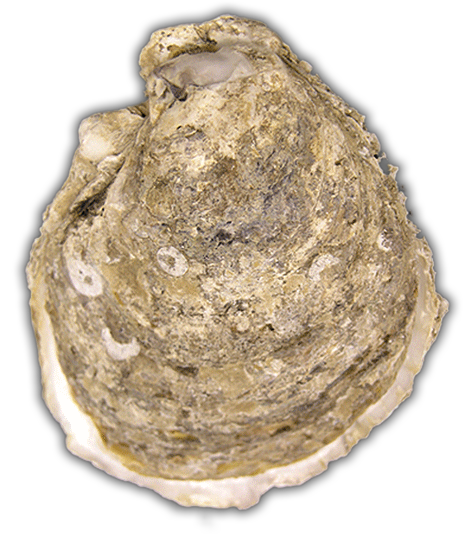
Oyster Anatomy Laboratory
External Anatomy: Observation and Investigation
Materials
This activity uses:
- A set of valves from an oyster in which the animal has been removed
- Stereomicroscope (optional)
- Large magnifying glass (optional)


An oyster is composed of shells called valves. When working with the oyster, be careful — some edges of the valves can be very sharp!
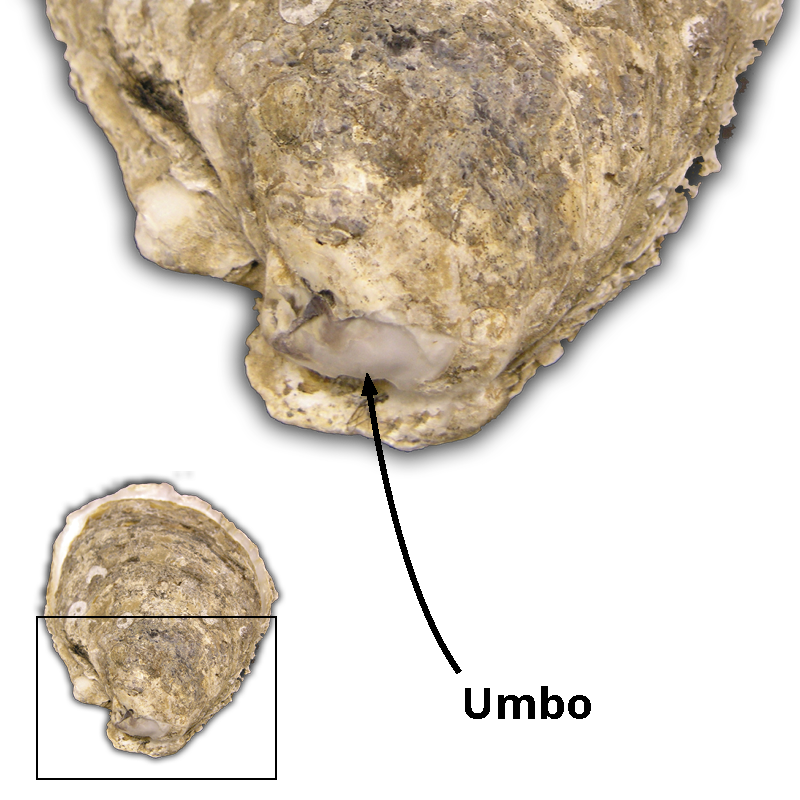
The oyster is more pointed at one end. This is the anterior end — called the umbo. The umbo is the oldest part of the oyster.
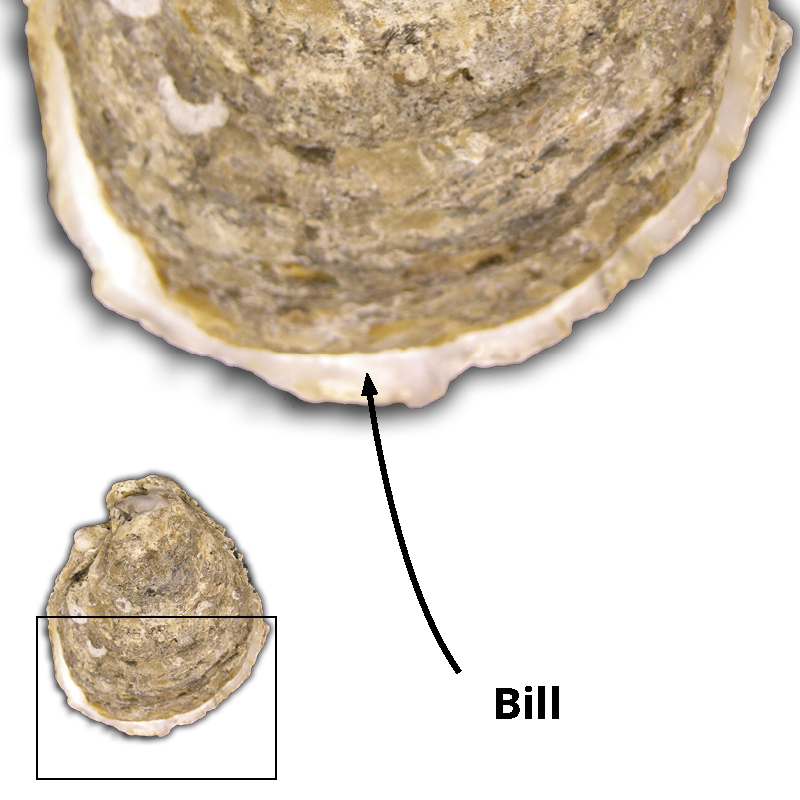
The posterior end is the larger, curved end — called the bill.
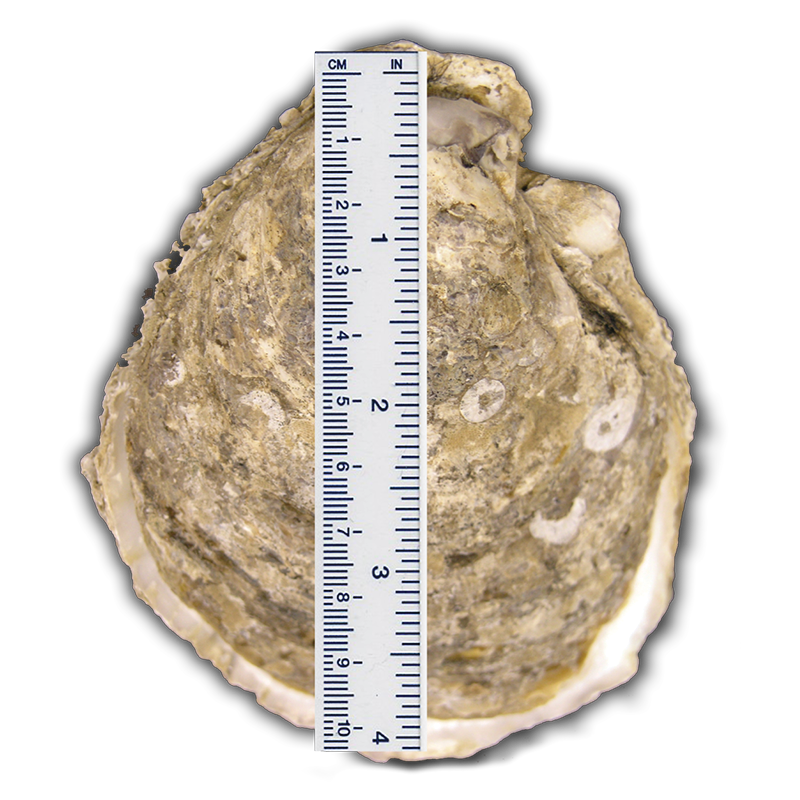
The height of the oyster is the distance from the umbo to the bill.
Determine the height of your oyster (1 in = 2.54 cm).
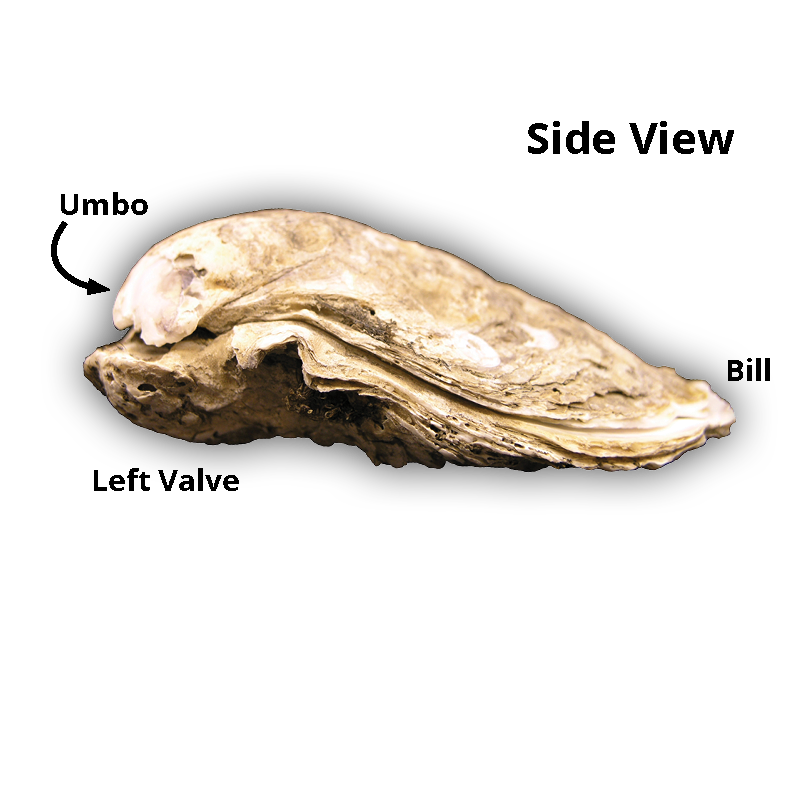
Observe the paired valves from the side.

Separate the two valves to expose the internal surfaces.
On the internal surface of the valves you will observe a dark area. This is the scar from where the oyster's adductor muscle was attached to the valves view.
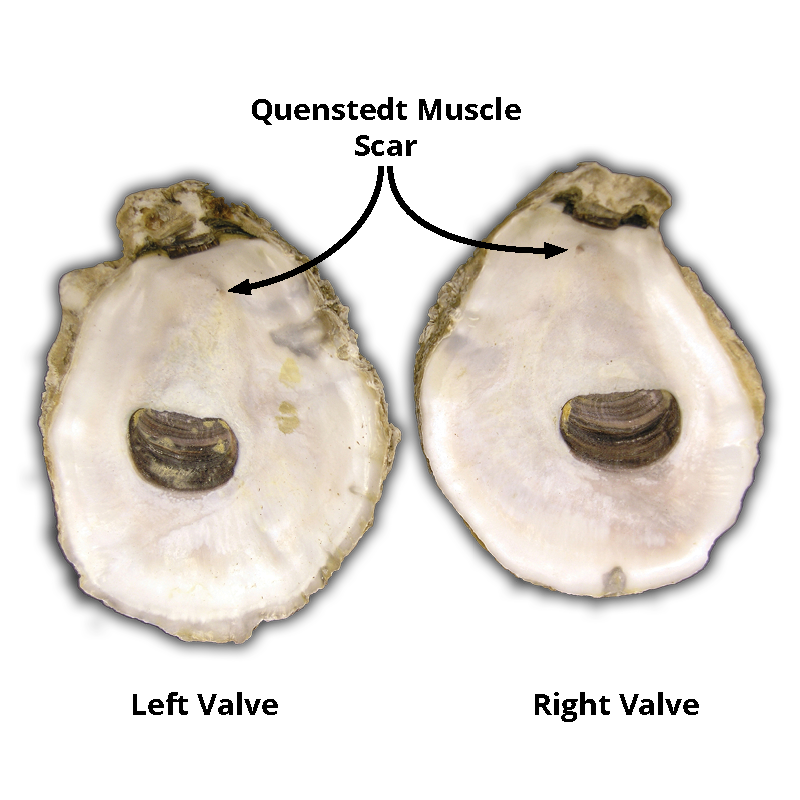
On the internal surface of the right valve you may see a small indentation no bigger than the head of pin.
This indentation is the scar from the Quenstedt muscle.
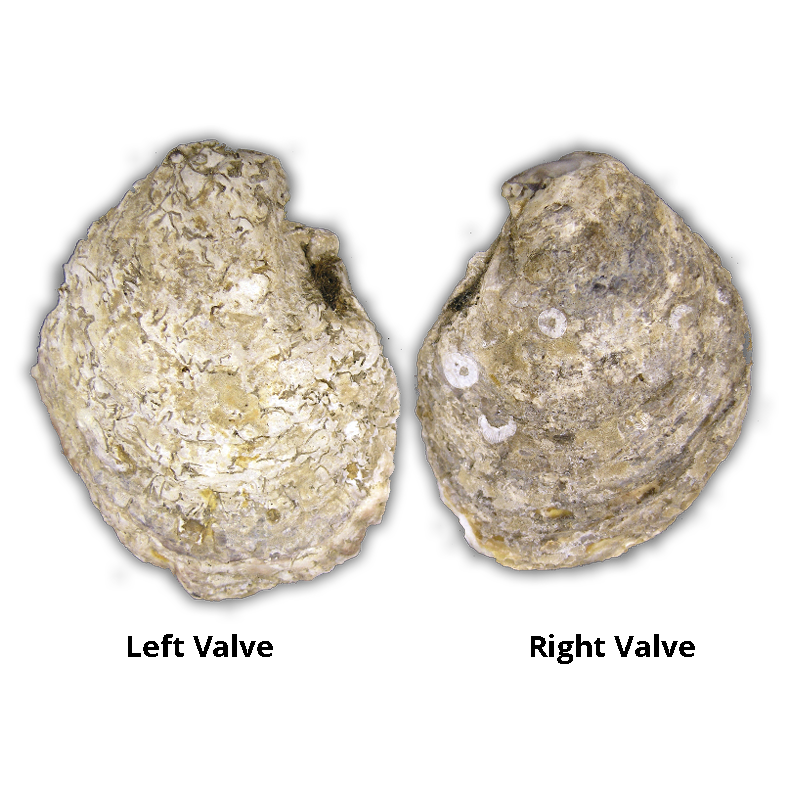
Flip the two valves over to expose the external surfaces of the valves.
